How to View Appointment Colors by Service type or Employee
Estimated Reading Time: 1 MinutesThere are two options when color-coding your appointments in the appointment scheduler. You may either assign a color to each employee or assign a color to each service. This article will explain how to configure settings to view either option.
First, you must configure which preference you choose in your appointment scheduler settings. To do this, follow the steps below:
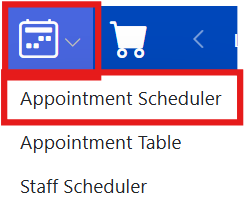
- Select the calendar icon, then 'Appointment Scheduler'.
-
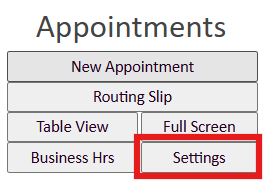
Select 'Settings' in the top left corner of the scheduler page.
- Select the 'event colour' dropdown and choose the option you prefer between 'employee color as event color' or 'service color as event color'.

How to Set Service Colors:
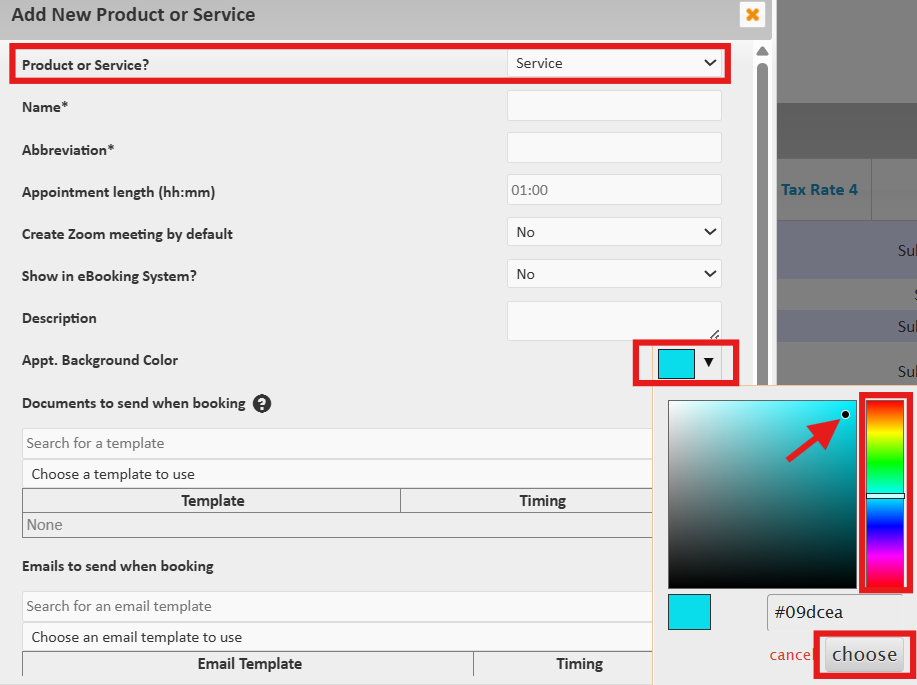
- Select the 'Inventory' menu, then 'Products & Services'.
- When adding or editing a service, select the color picker tool, then select the color range on the right side and choose the exact color you would like to assign to that specific service. Lastly, select 'Choose'.
How to Set Employee Colors:
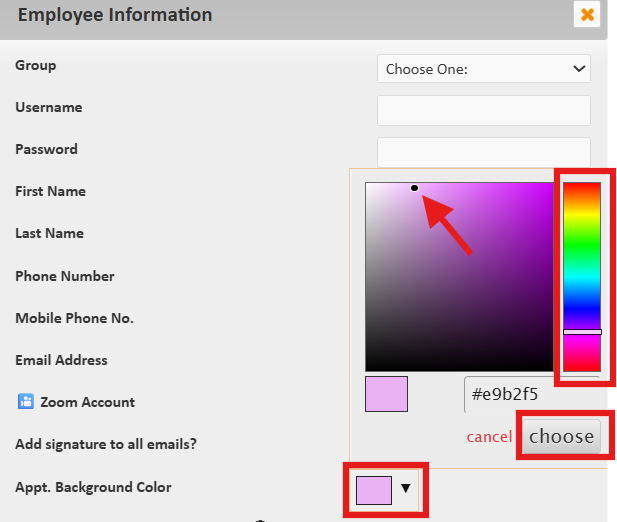
- Select the 'Settings' menu, then 'Employees/Staff'.
- Add or edit an employee account and select the 'color picker tool', then select the color range on the right side and choose the exact color you would like to assign to that specific employee, and lastly select 'choose'.